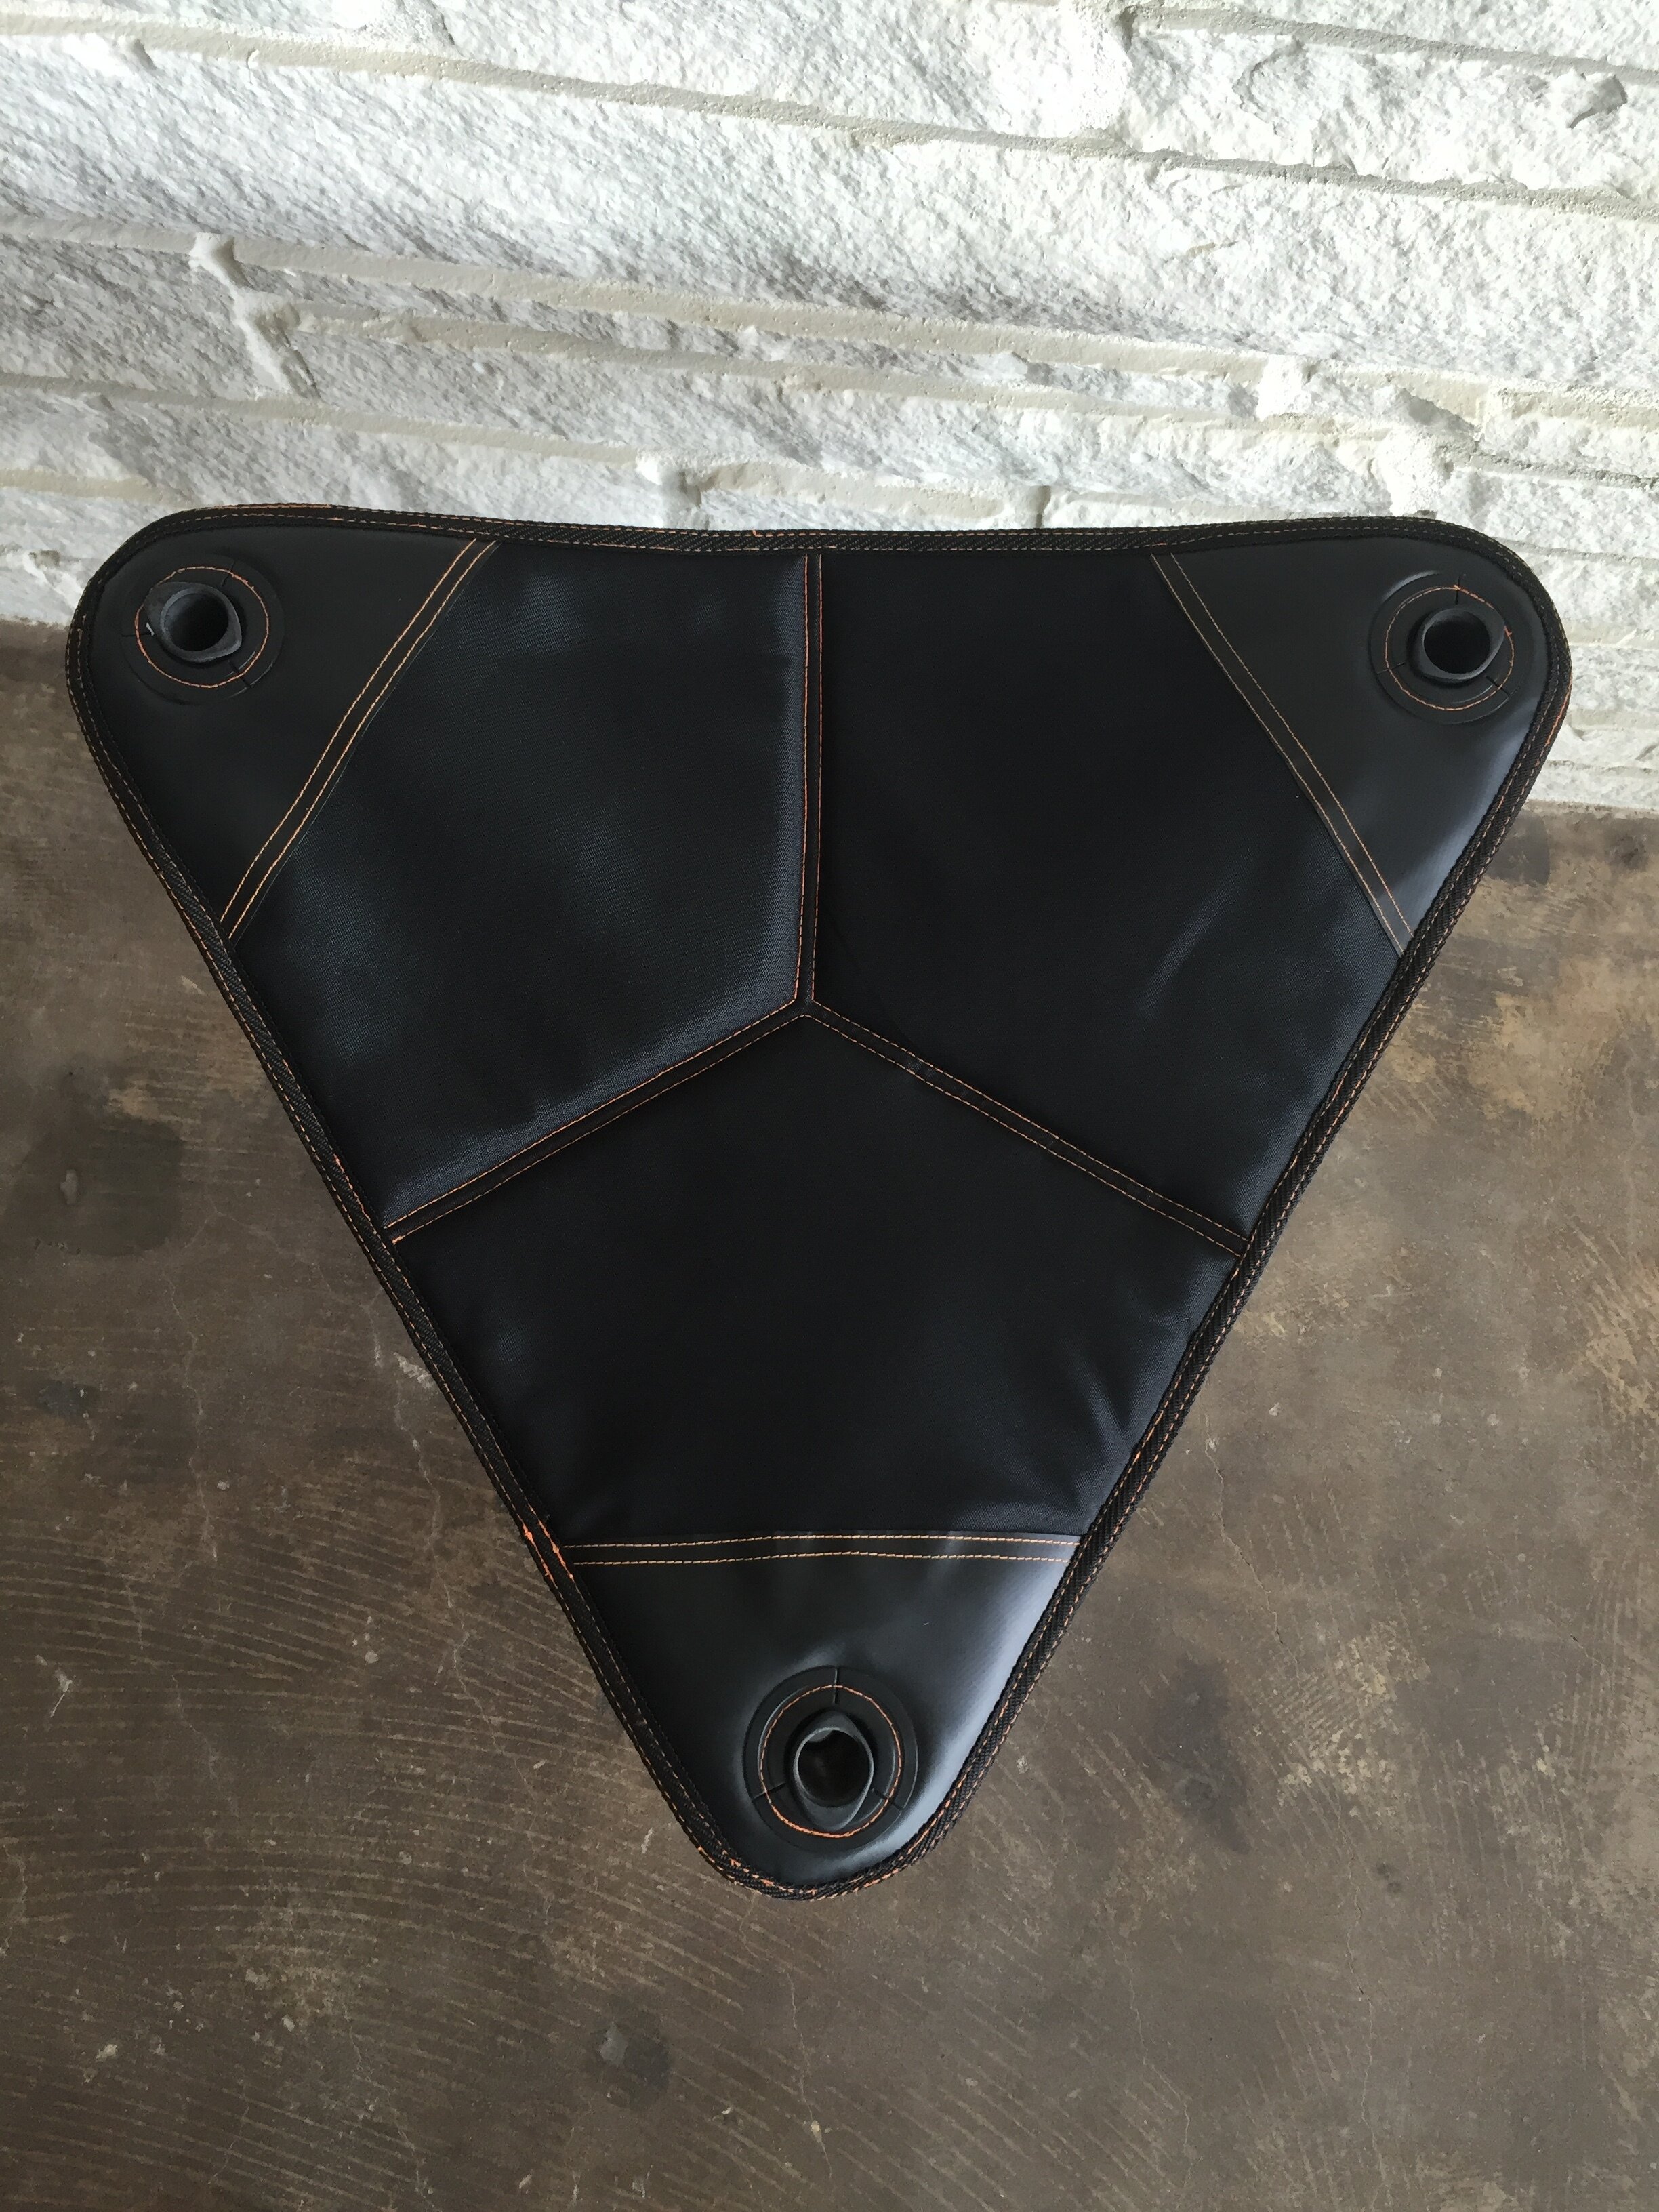
CHAMA CHAIR
Client: Chama Outdoors
Studio: Propulsion
Research | Concept Development | Prototyping | TechPacks
Overview
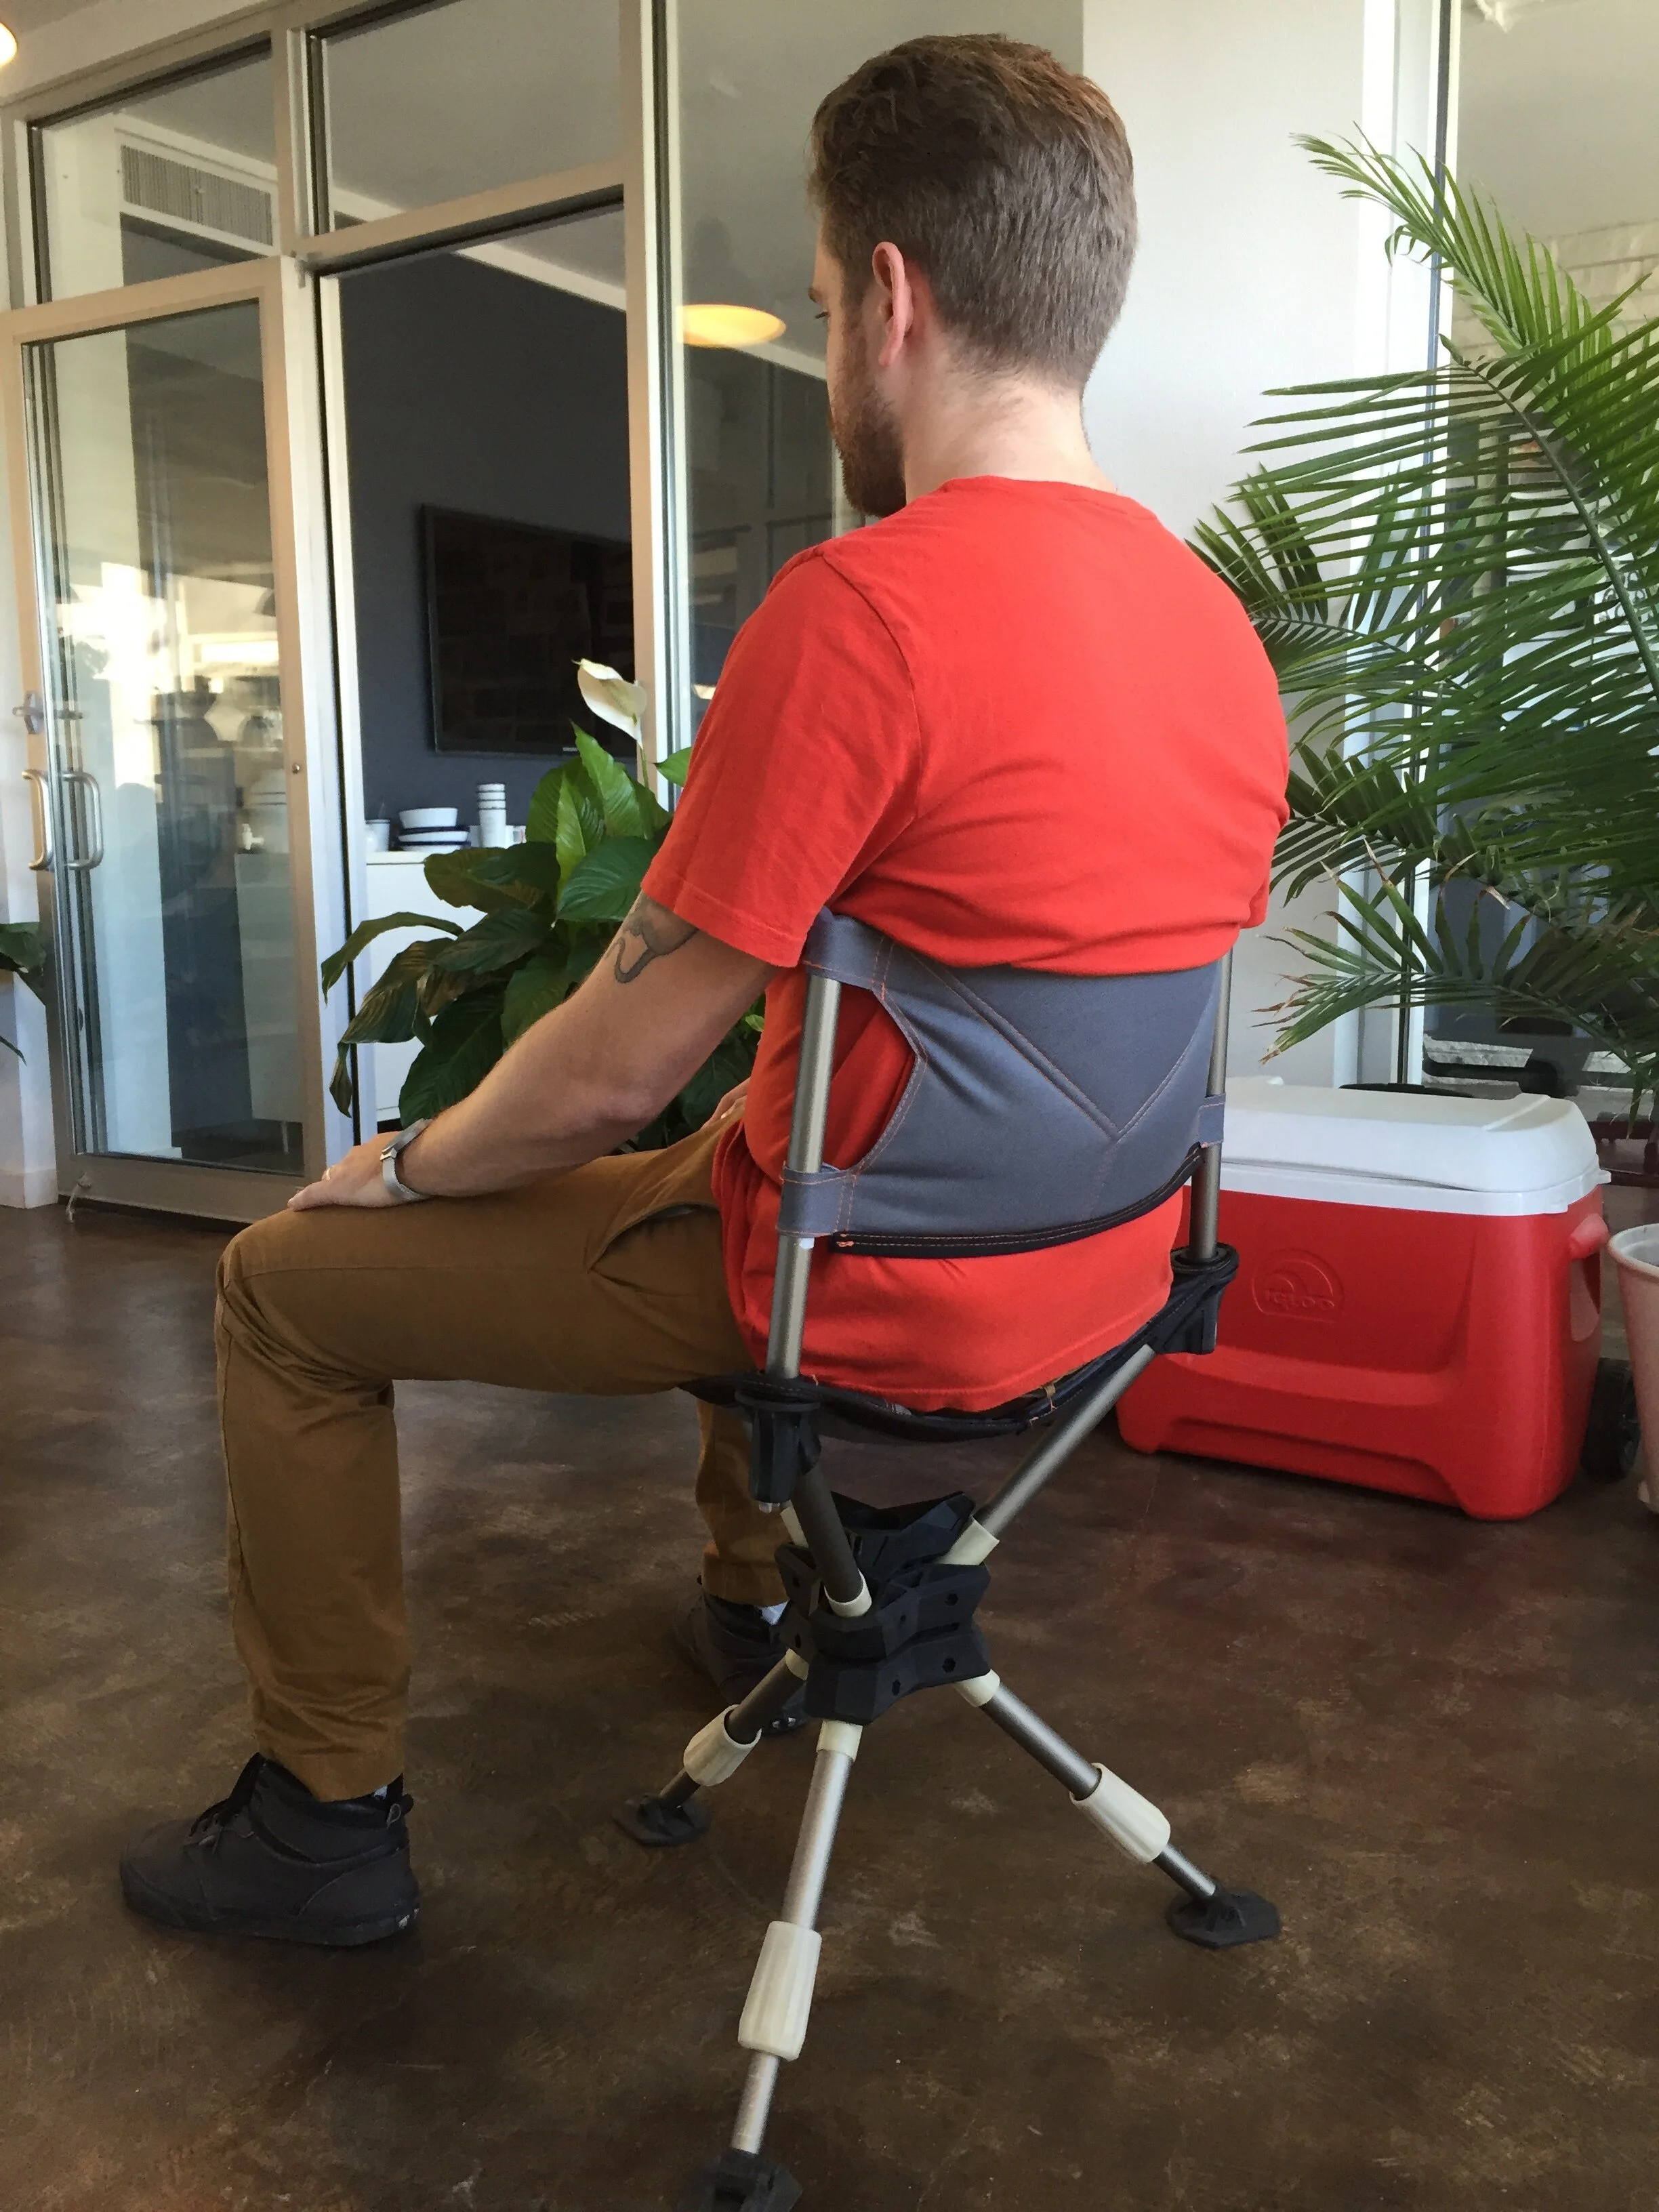
The Chama chair was specifically designed for the outdoors. The product required several features in order to compete in this market. Among these features were: ruggedness, weight, stealthiness, and stability.
The chair is adaptable and easy to deploy. The chair can convert to a stool with ease, by removing the back seat-rest. The chair can swivel in full rotation to provide unlimited shooting angles for hunting or fishing, and the chair is able to lock in position when desired. All of this with minimal noise produced by the product.
Opportunities
Durability | Convert from chair to stool | 360 degree rotation | Lightweight | Rugged and operable with gloves | Silent mechanisms | Terrain Adaptability
Tech Packs
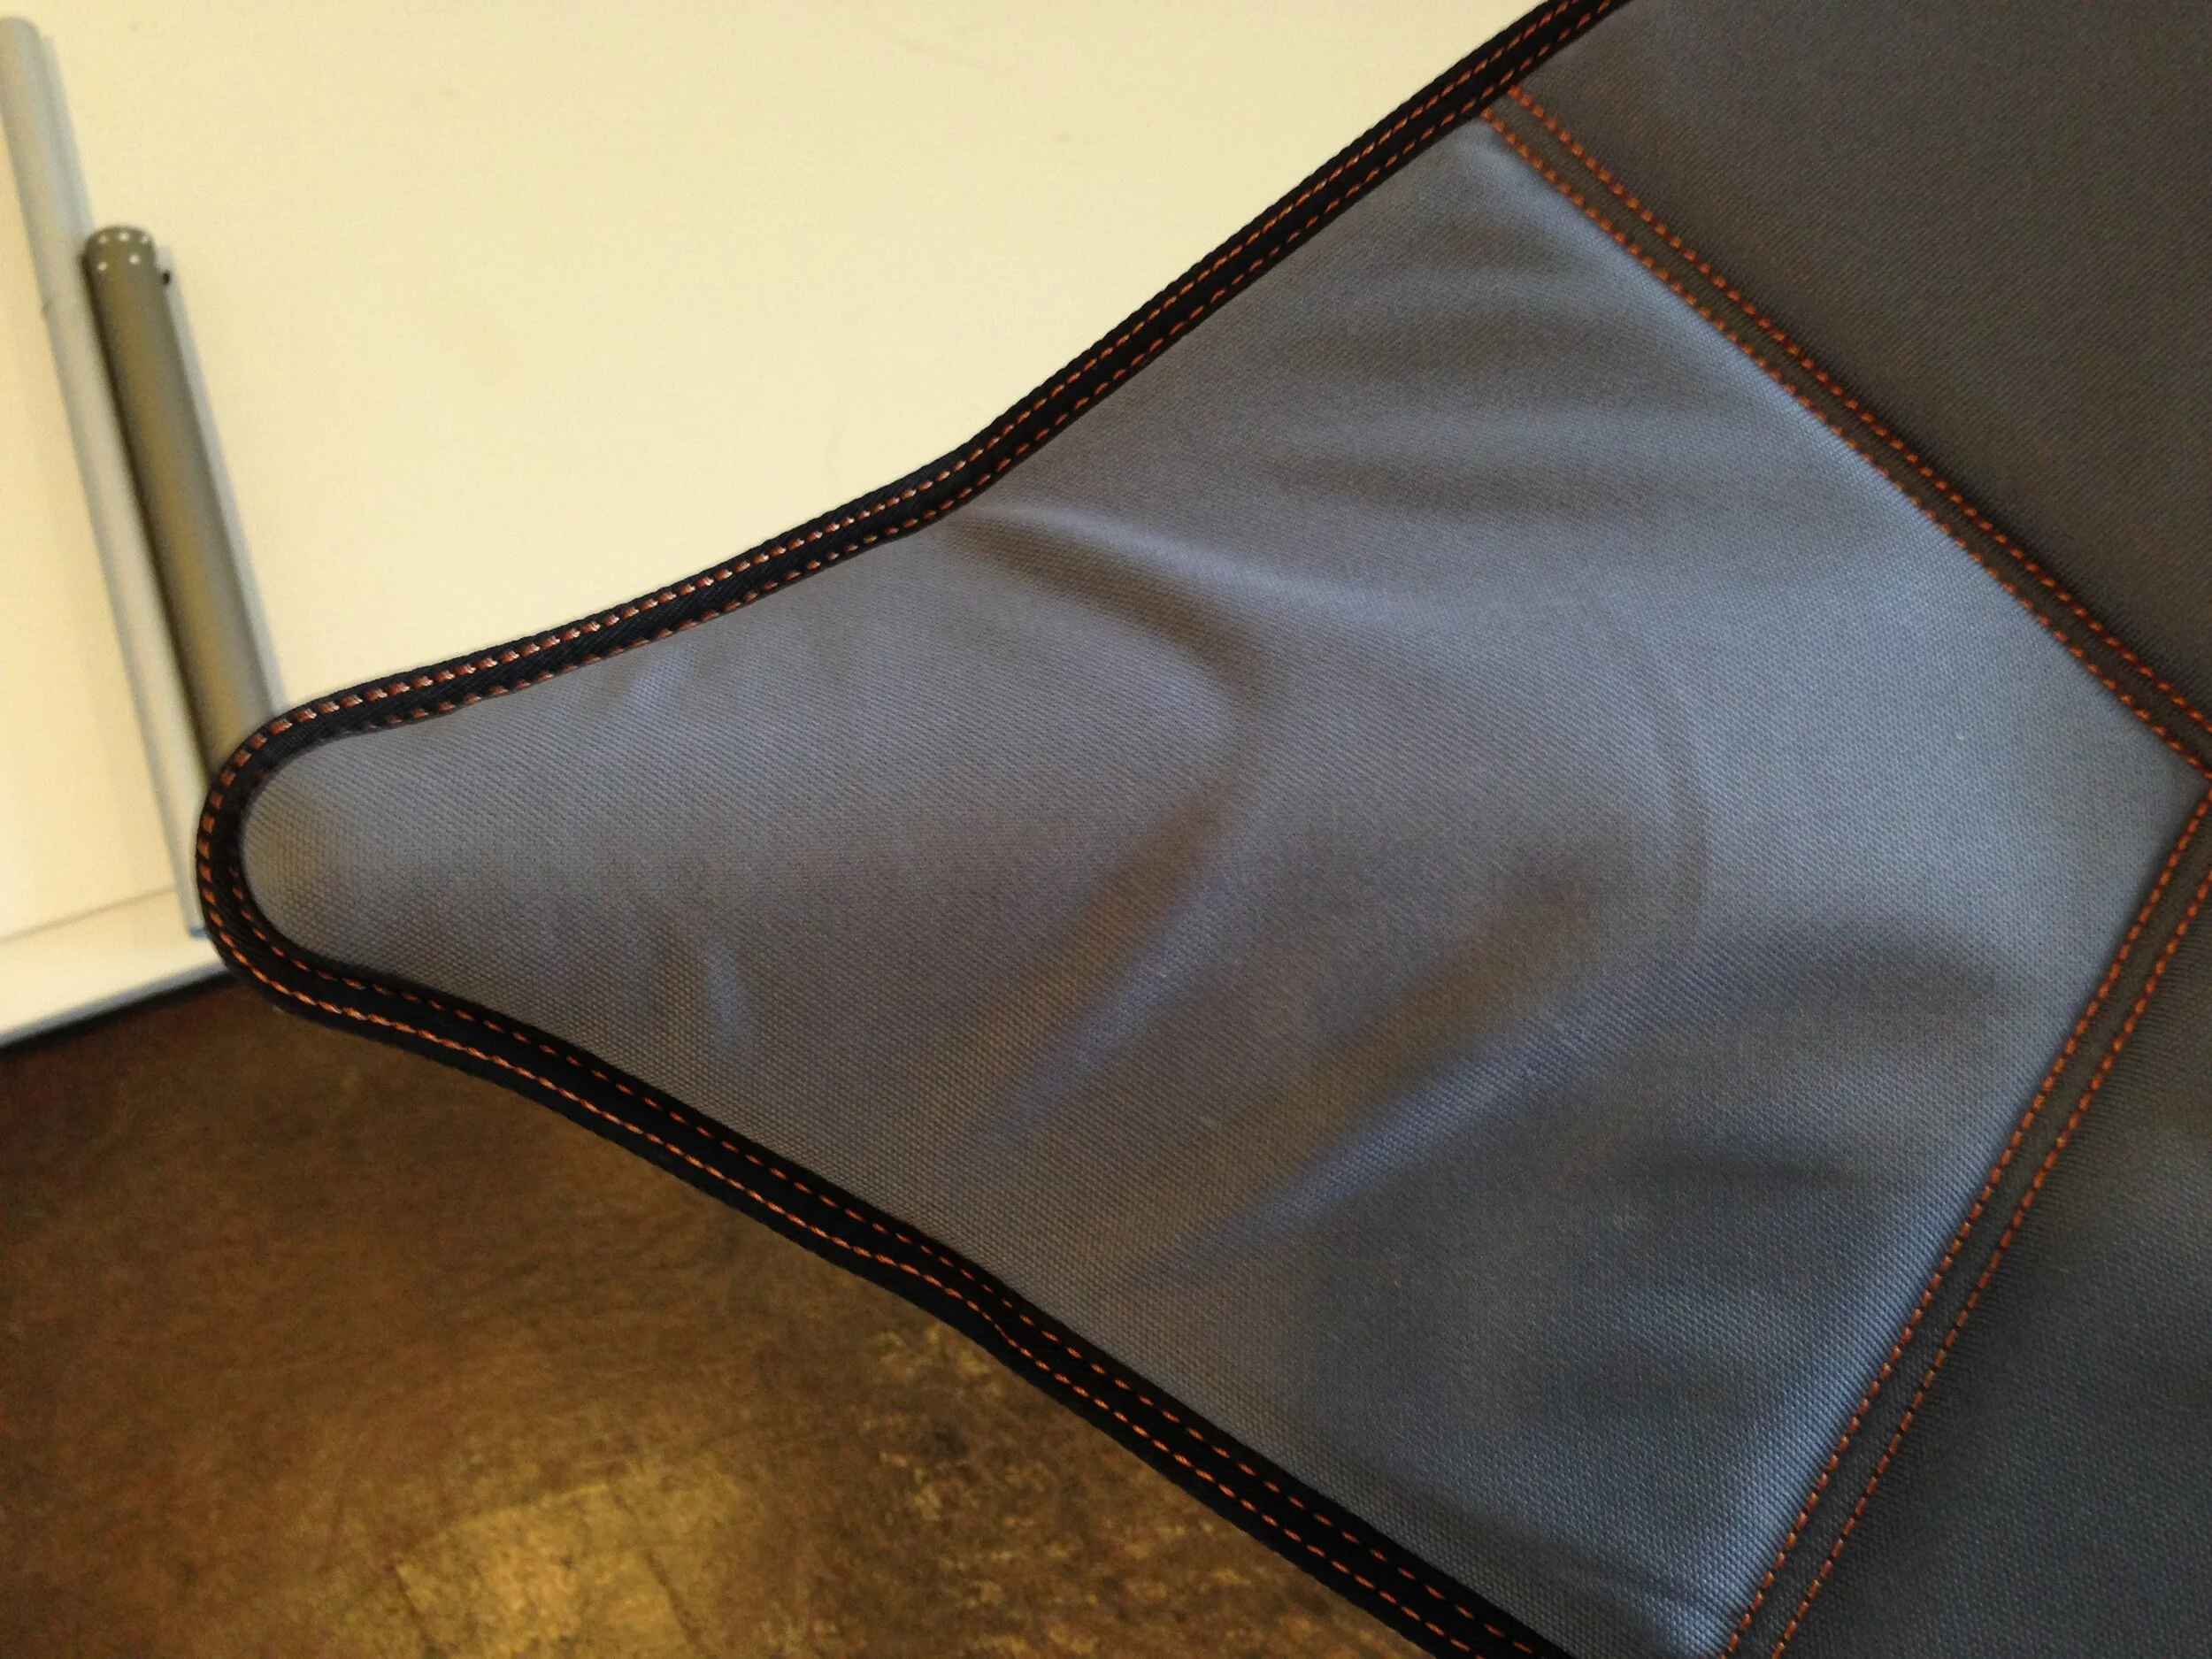
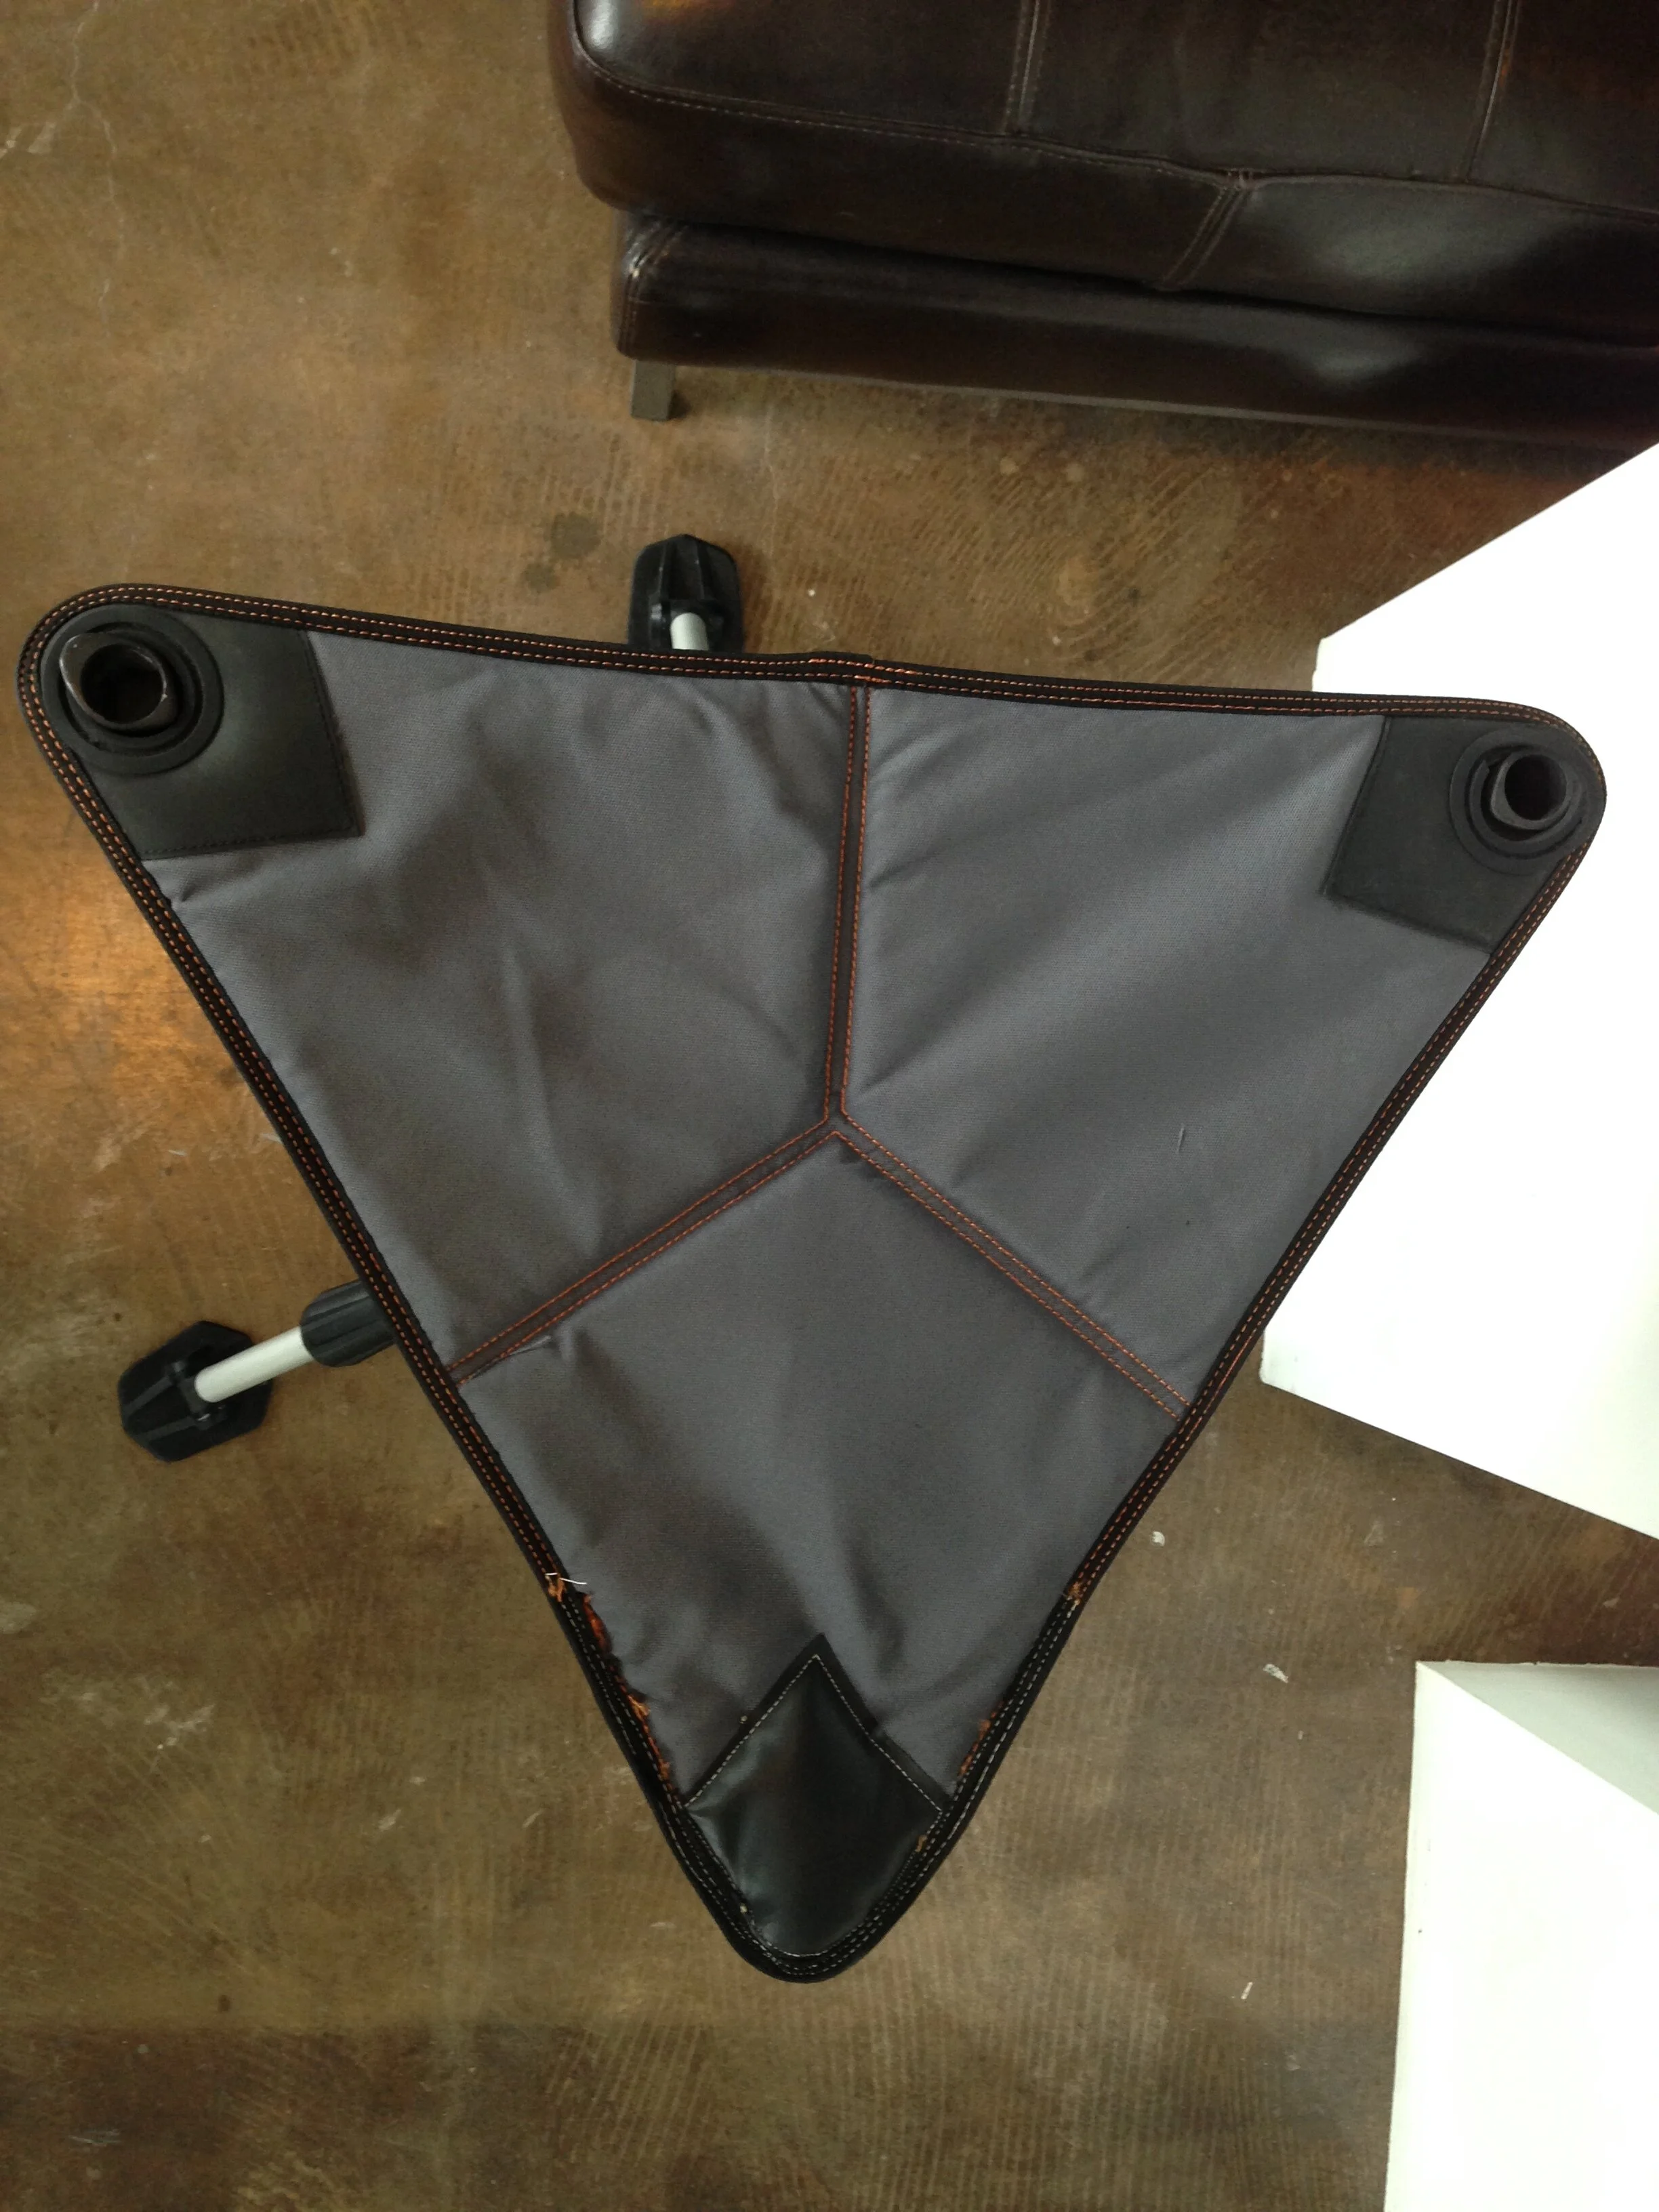
The Chama chair was designed with heavy-duty, 1,000 denier Cordura Nylon. Nylon Webbing was used to add support to high impact zones, such as the stool top and the perimeter piping. Ballistic Nylon was also used to strengthen the corners of the chair, where most of the tension is applied. This decision was made through examining several prototypes and noticing material failure in this location.
Locking Hub
The chair needed a locking mechanism that was rugged enough for users to operate with gloves, in cold or wet climates. The locking system can be disabled when the chair needs to be collapsed for travel.
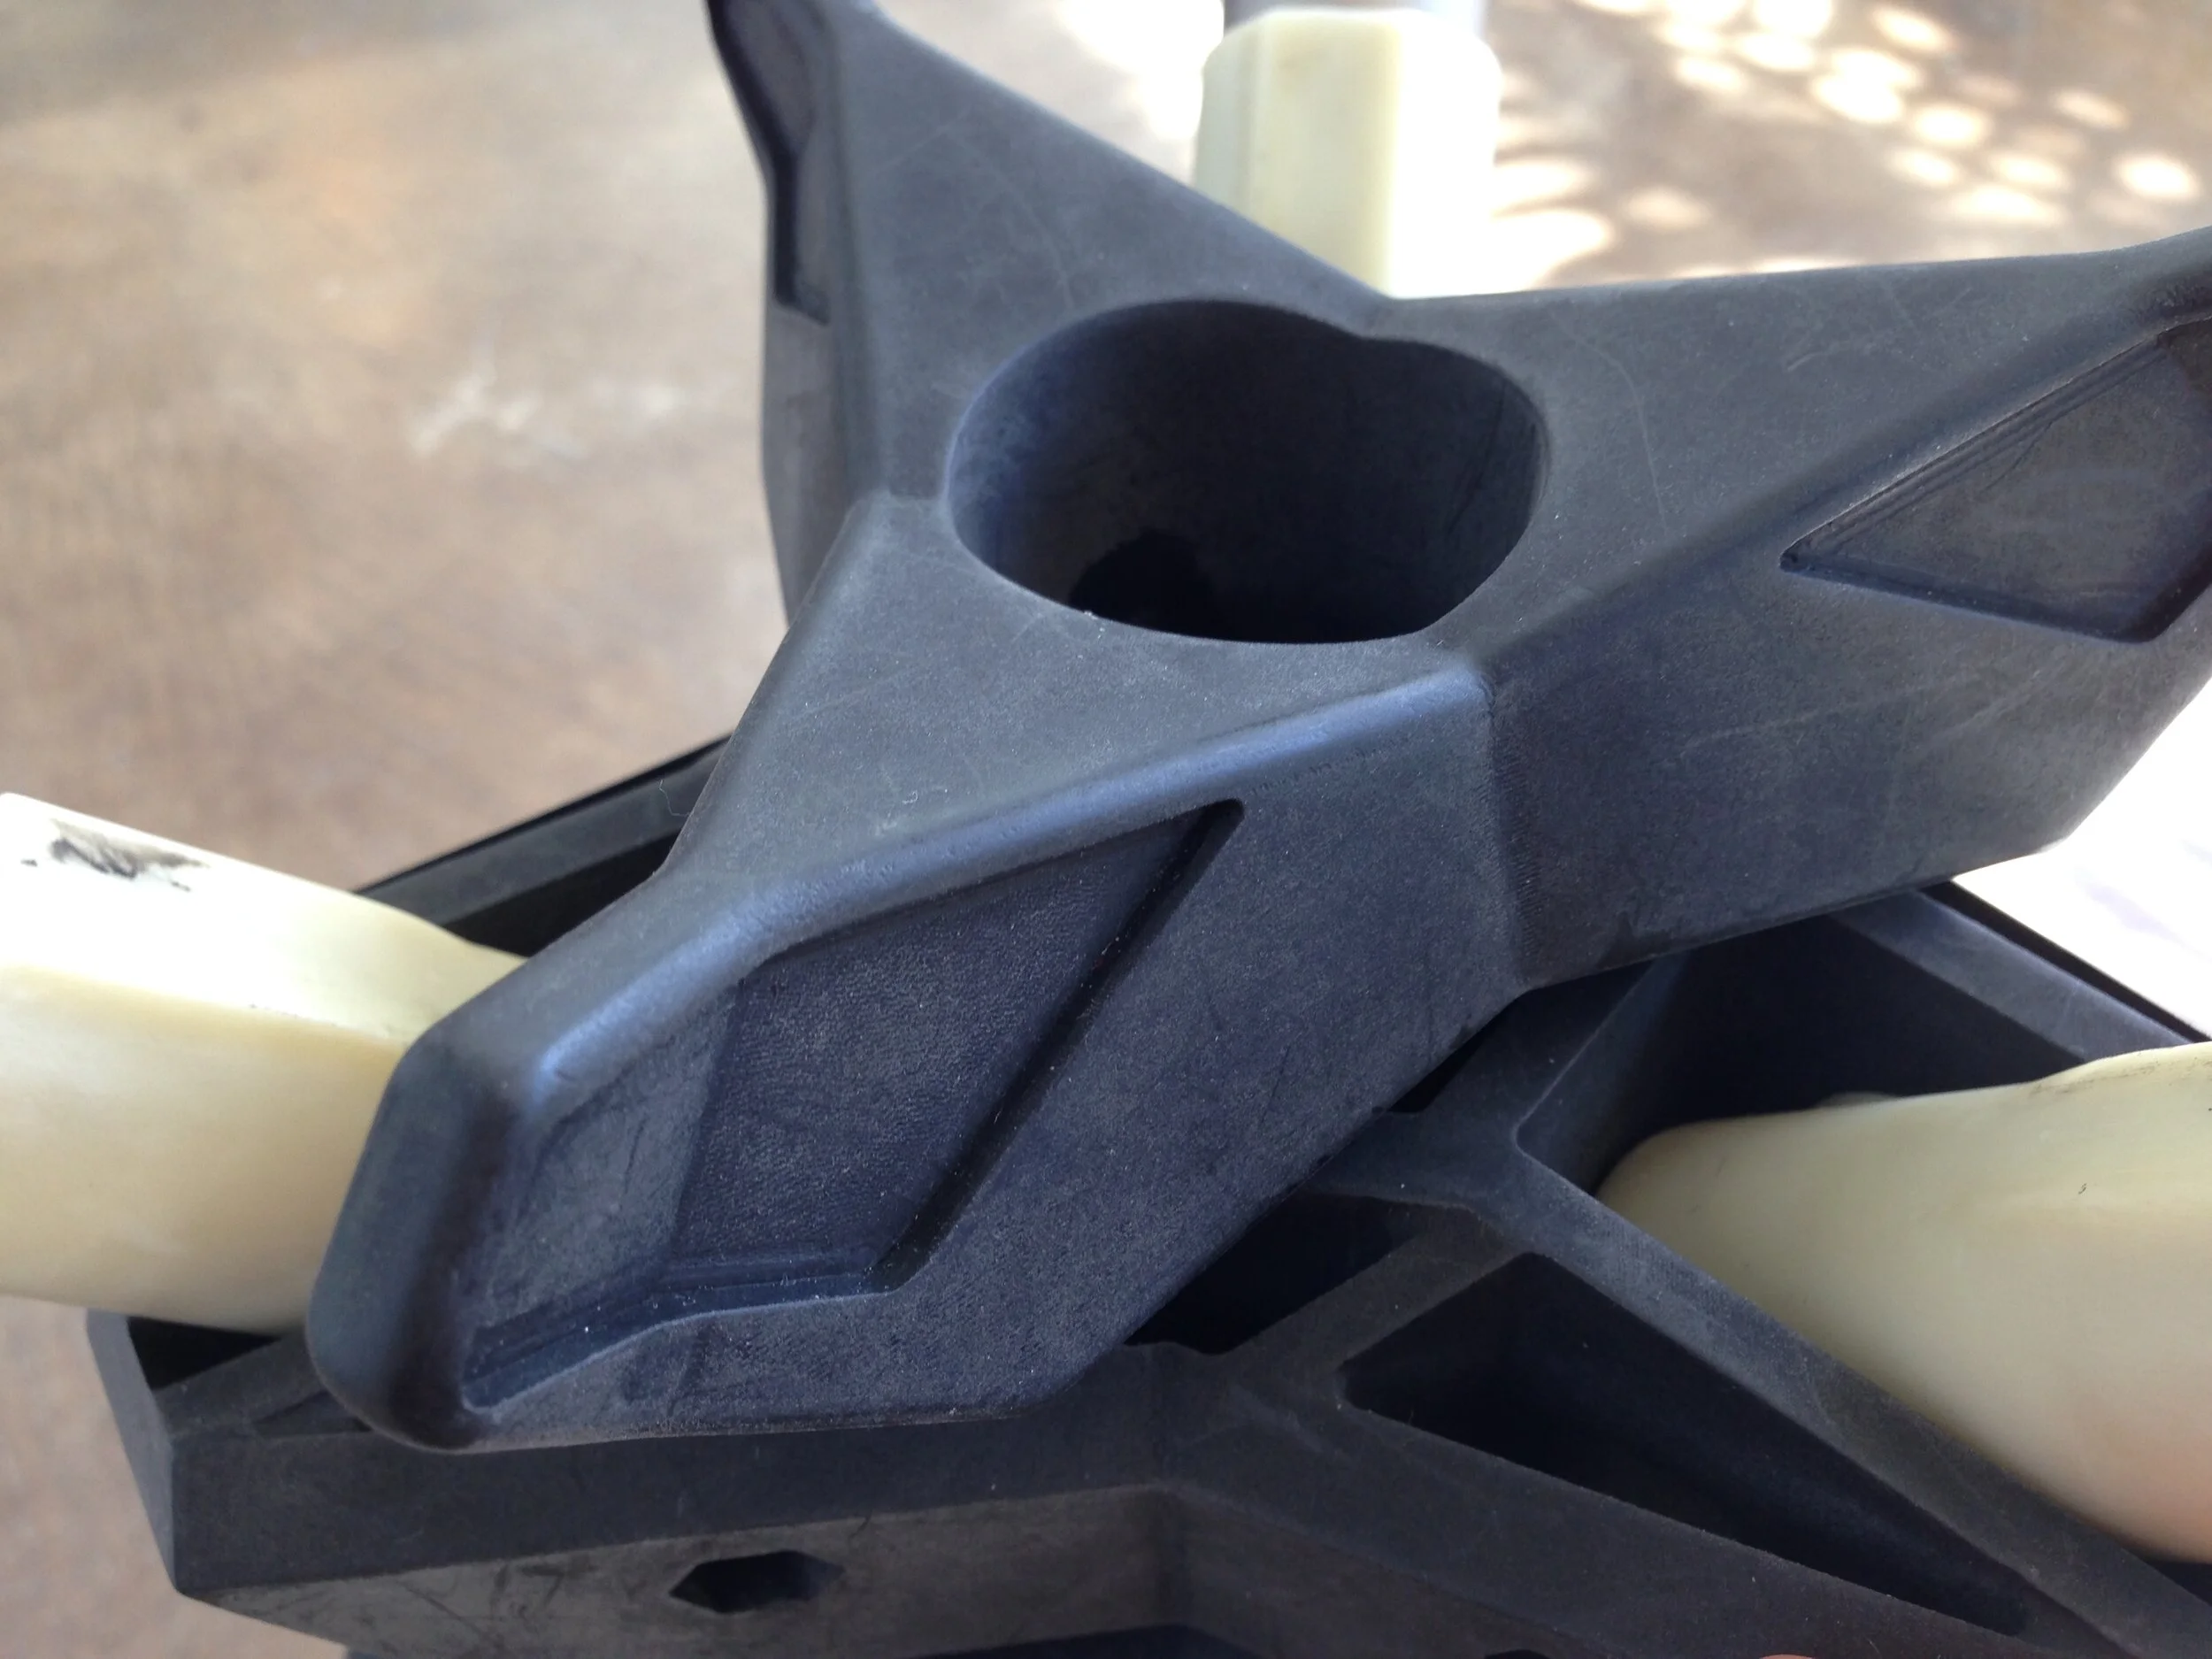
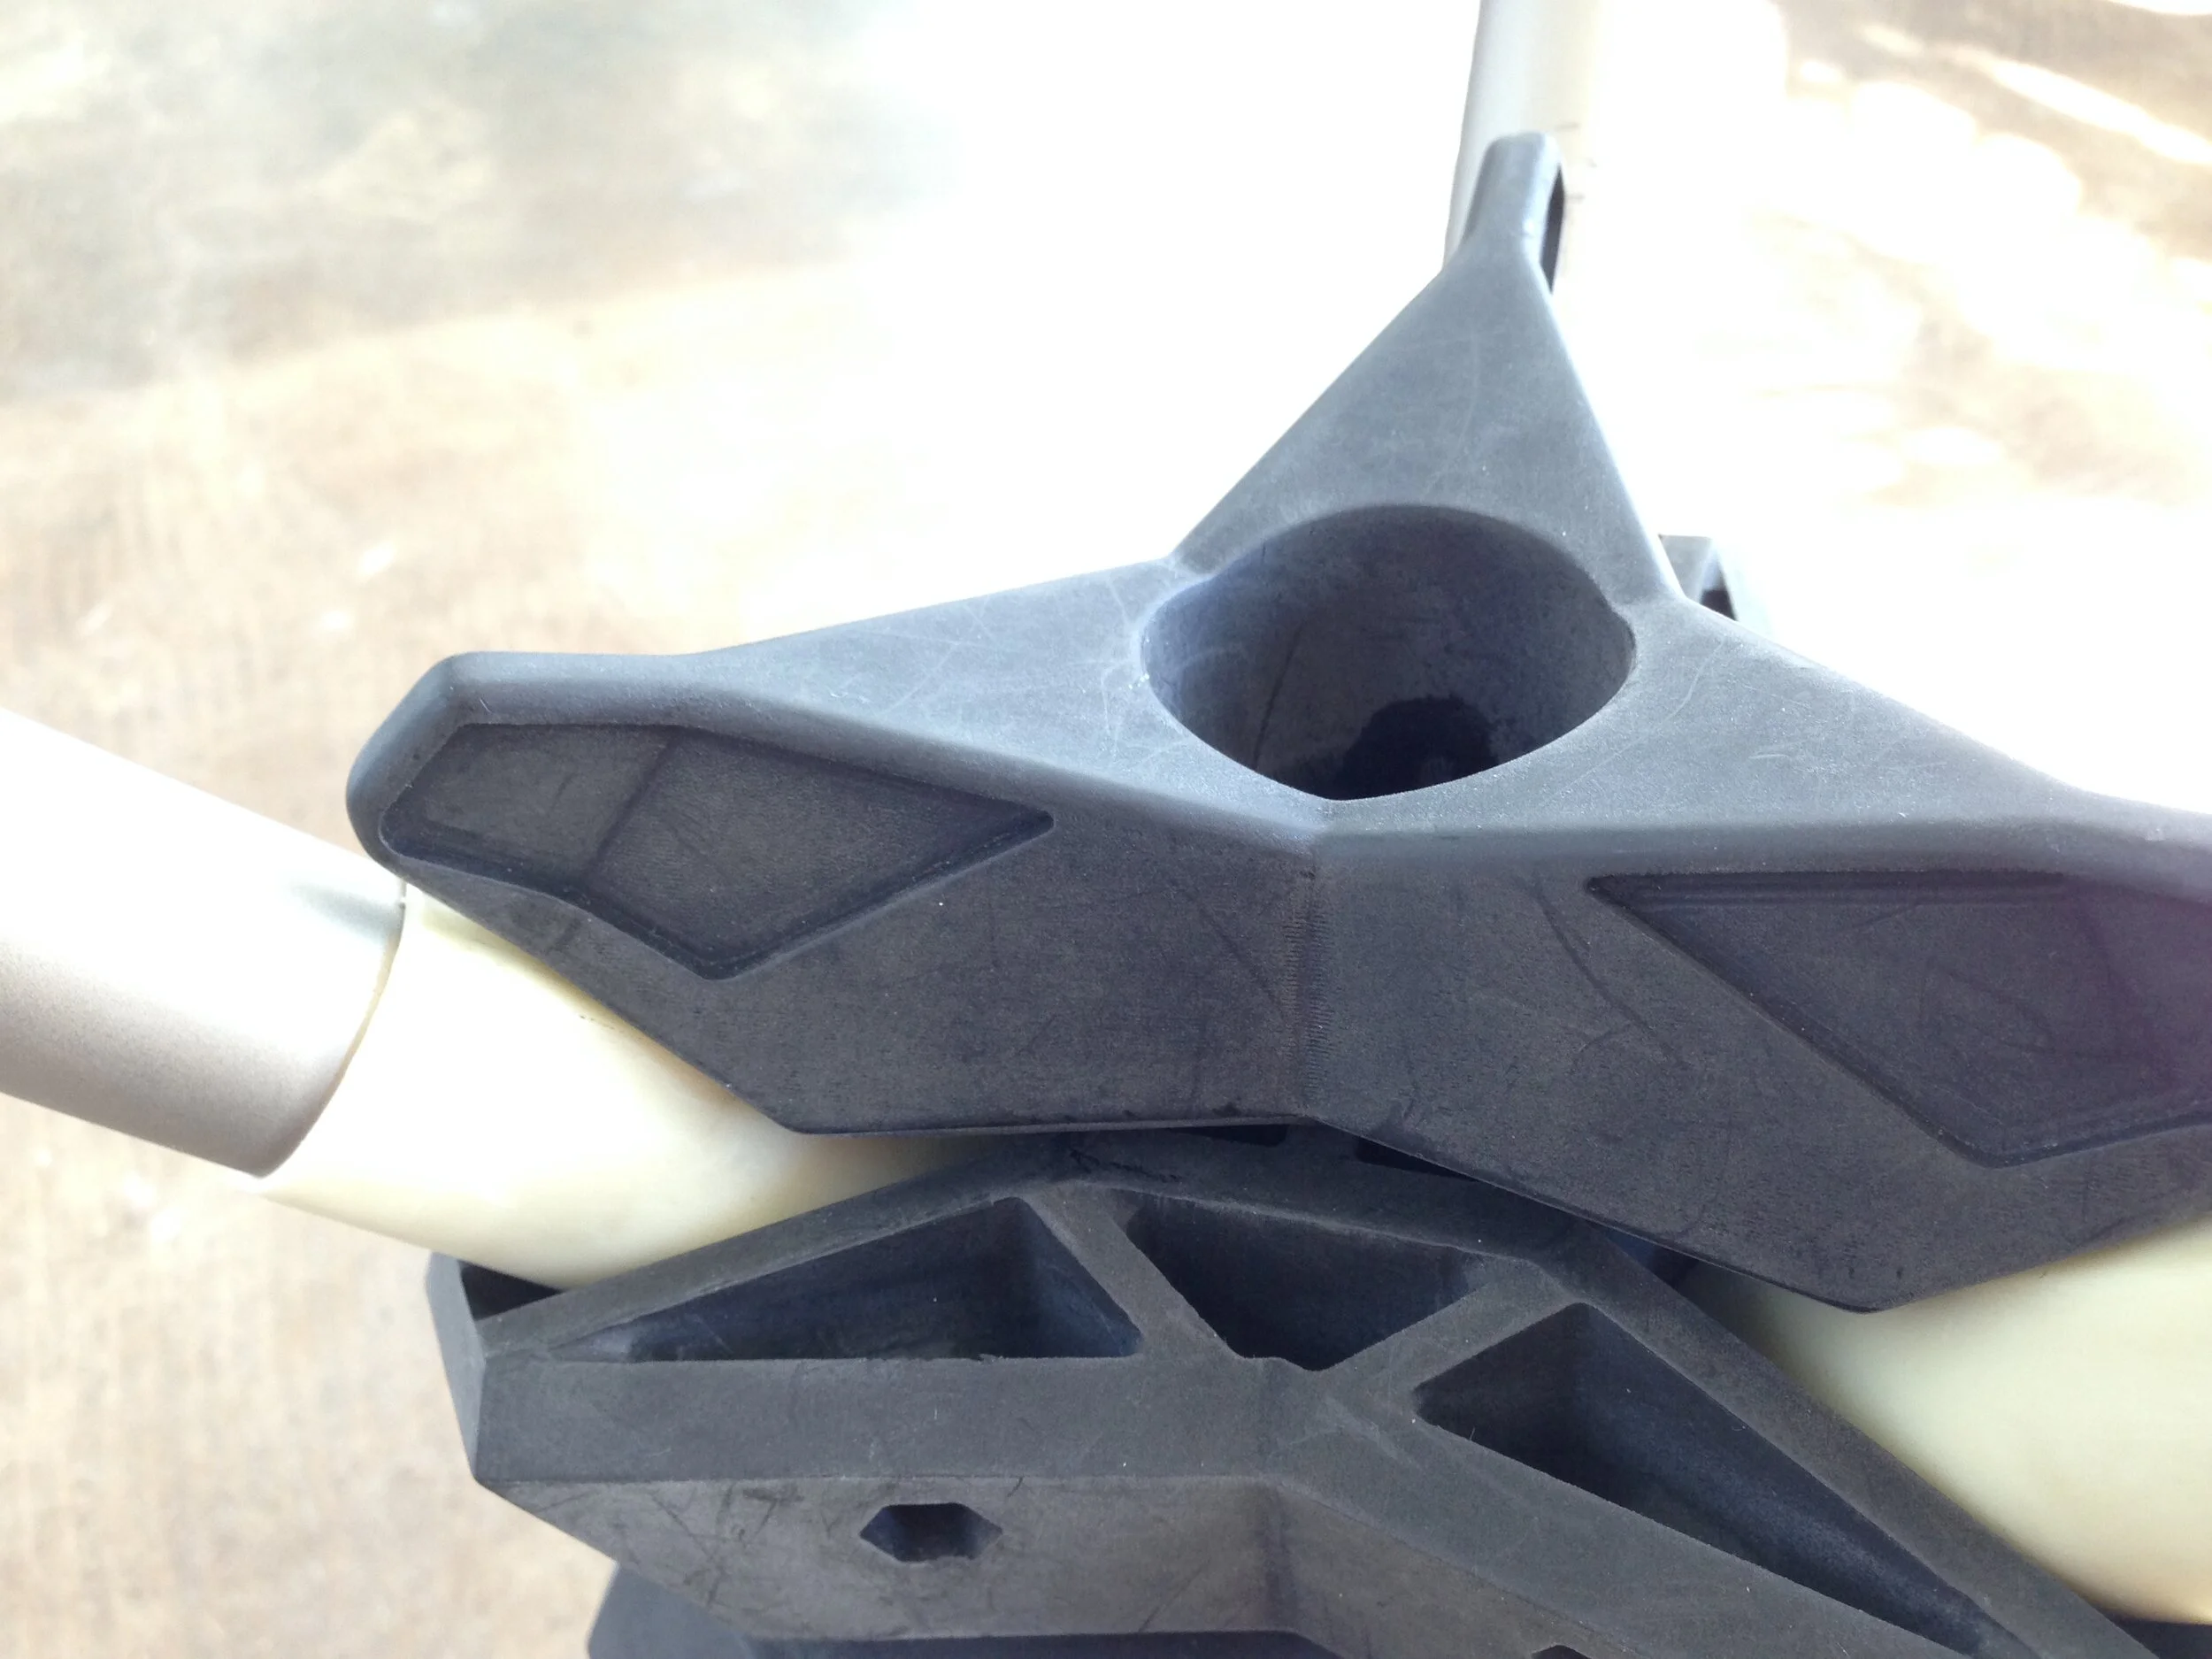
The locking hub locks in three different locations, ensuring that each leg of the tripod is secured. The hub that does the rotating is molded from ABS to ensure some noise reduction, and overmolded with a soft durometer TPE for grip. The orange overmold also helps to communicate the ideal location for user interaction with the hub.
The swivel hub and the die-cast Aluminum pole receivers were molded from Glass-filled Nylon to ensure strength since they receive most of the weight. The pole protecting sleeves were molded out of ABS to reduce some noise from impact.
Duck Feet & Telescoping Legs
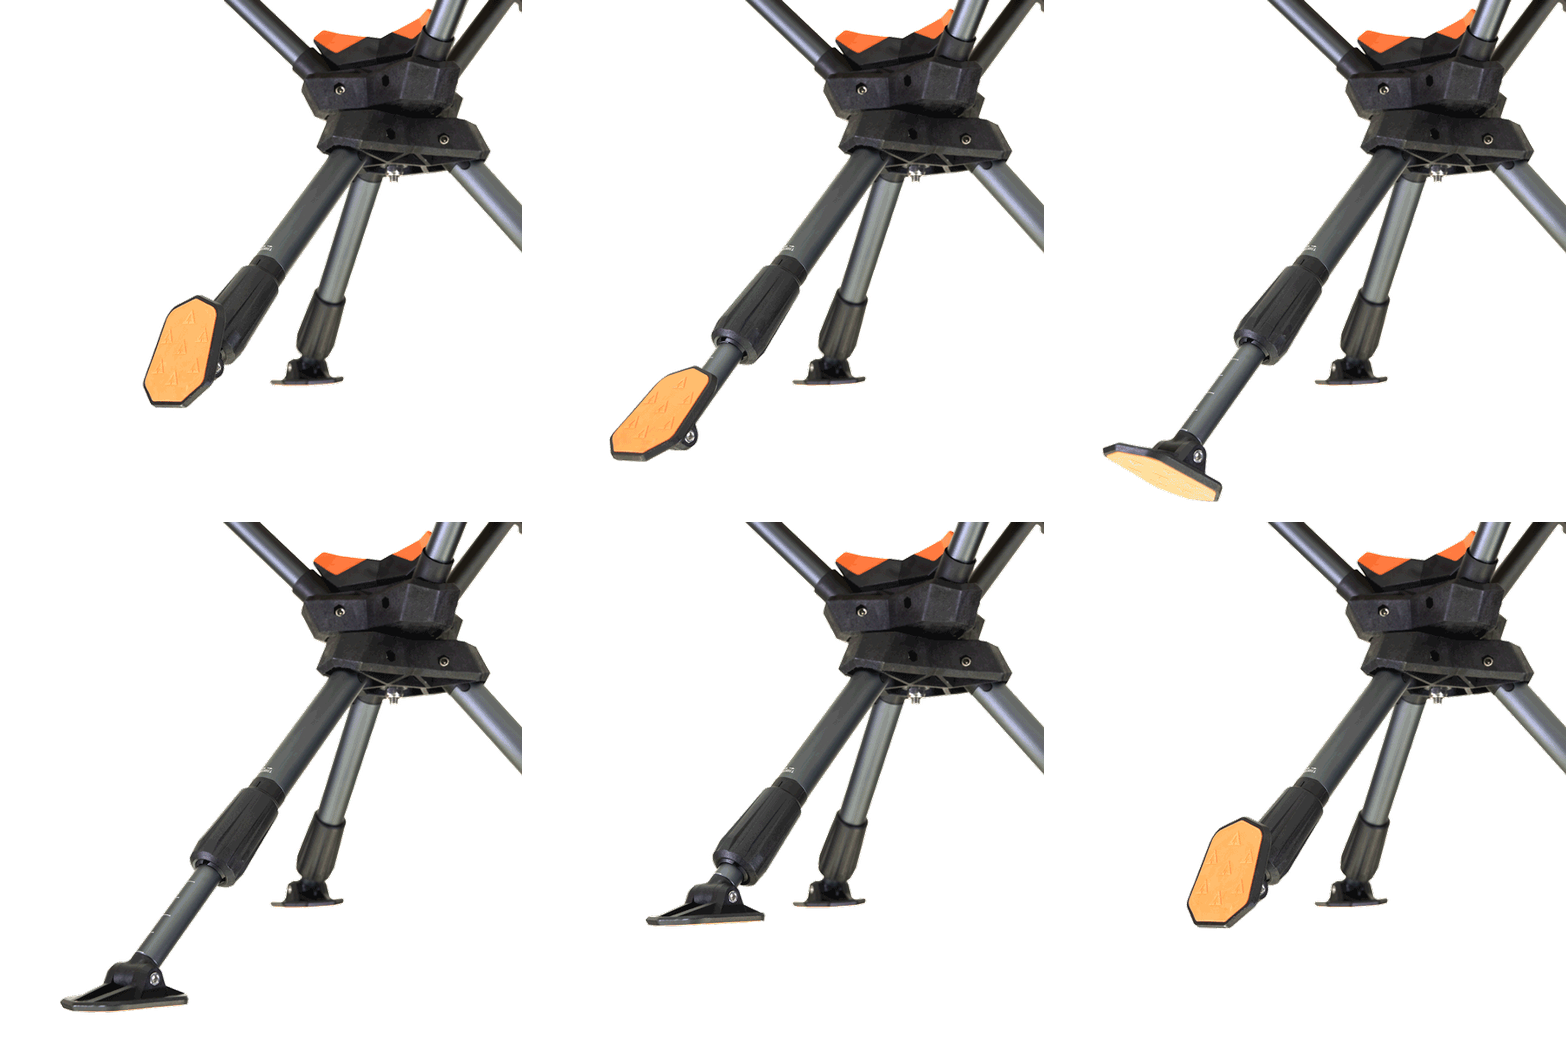
The chair was designed for wet and muddy environments. It was important to keep the chair from sinking into the ground. The chair’s feet were inspired by duck’s feet, with a large surface area to distribute the weight along the three legs. The feet also pivot as well as telescope allowing the tripod legs to adjust to any terrain. The ABS molded locking latch simply unscrews to release the leg pole, and screws tight to lock the desired leg length.
Prototype I
Prototype I Findings:
Parts are sticky dye to paint on SLA. Do not paint next prototype
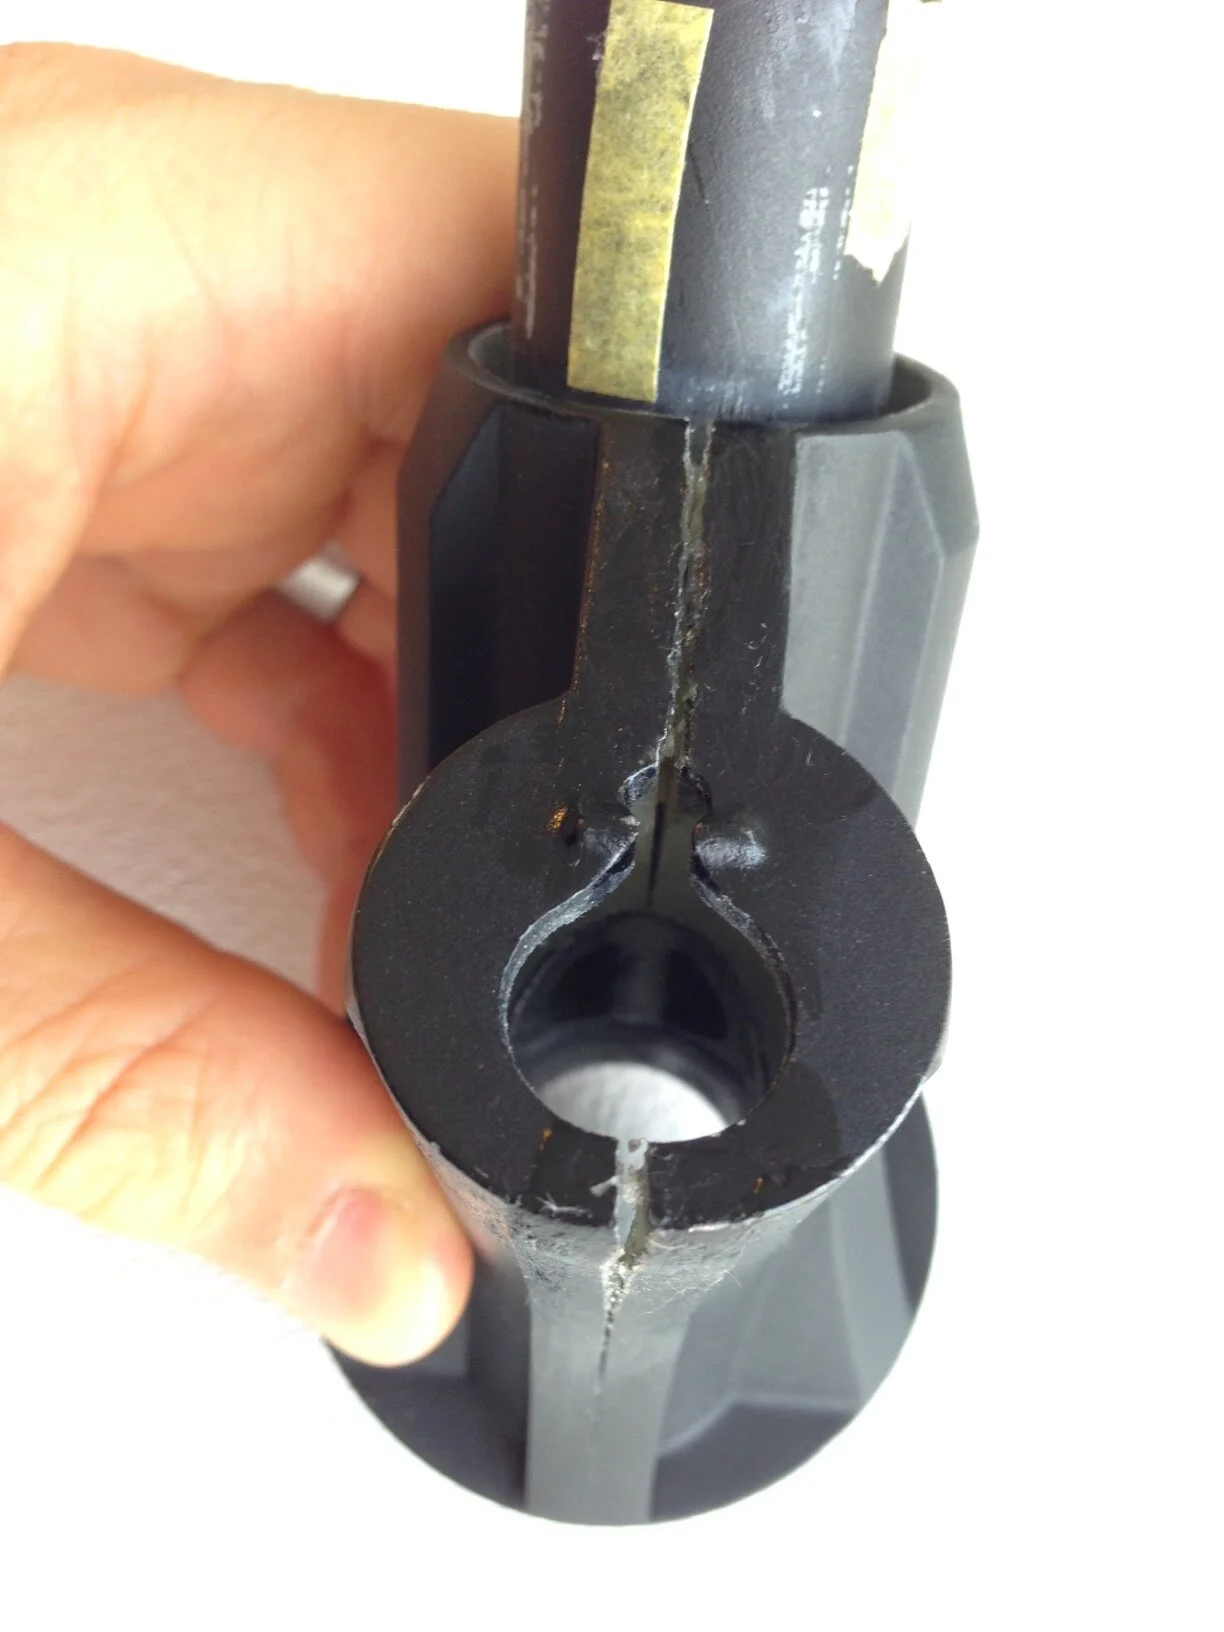
Glued parts are separating. Must have high strength: Next prototype should have machined ABS blocks
Gusset at the front of the seat is too tights and causes the seat to deform.
Seat fabric sags excessively when sat in. Higher durometer seat washers and added ballistic nylon reinforcement to corners should help.
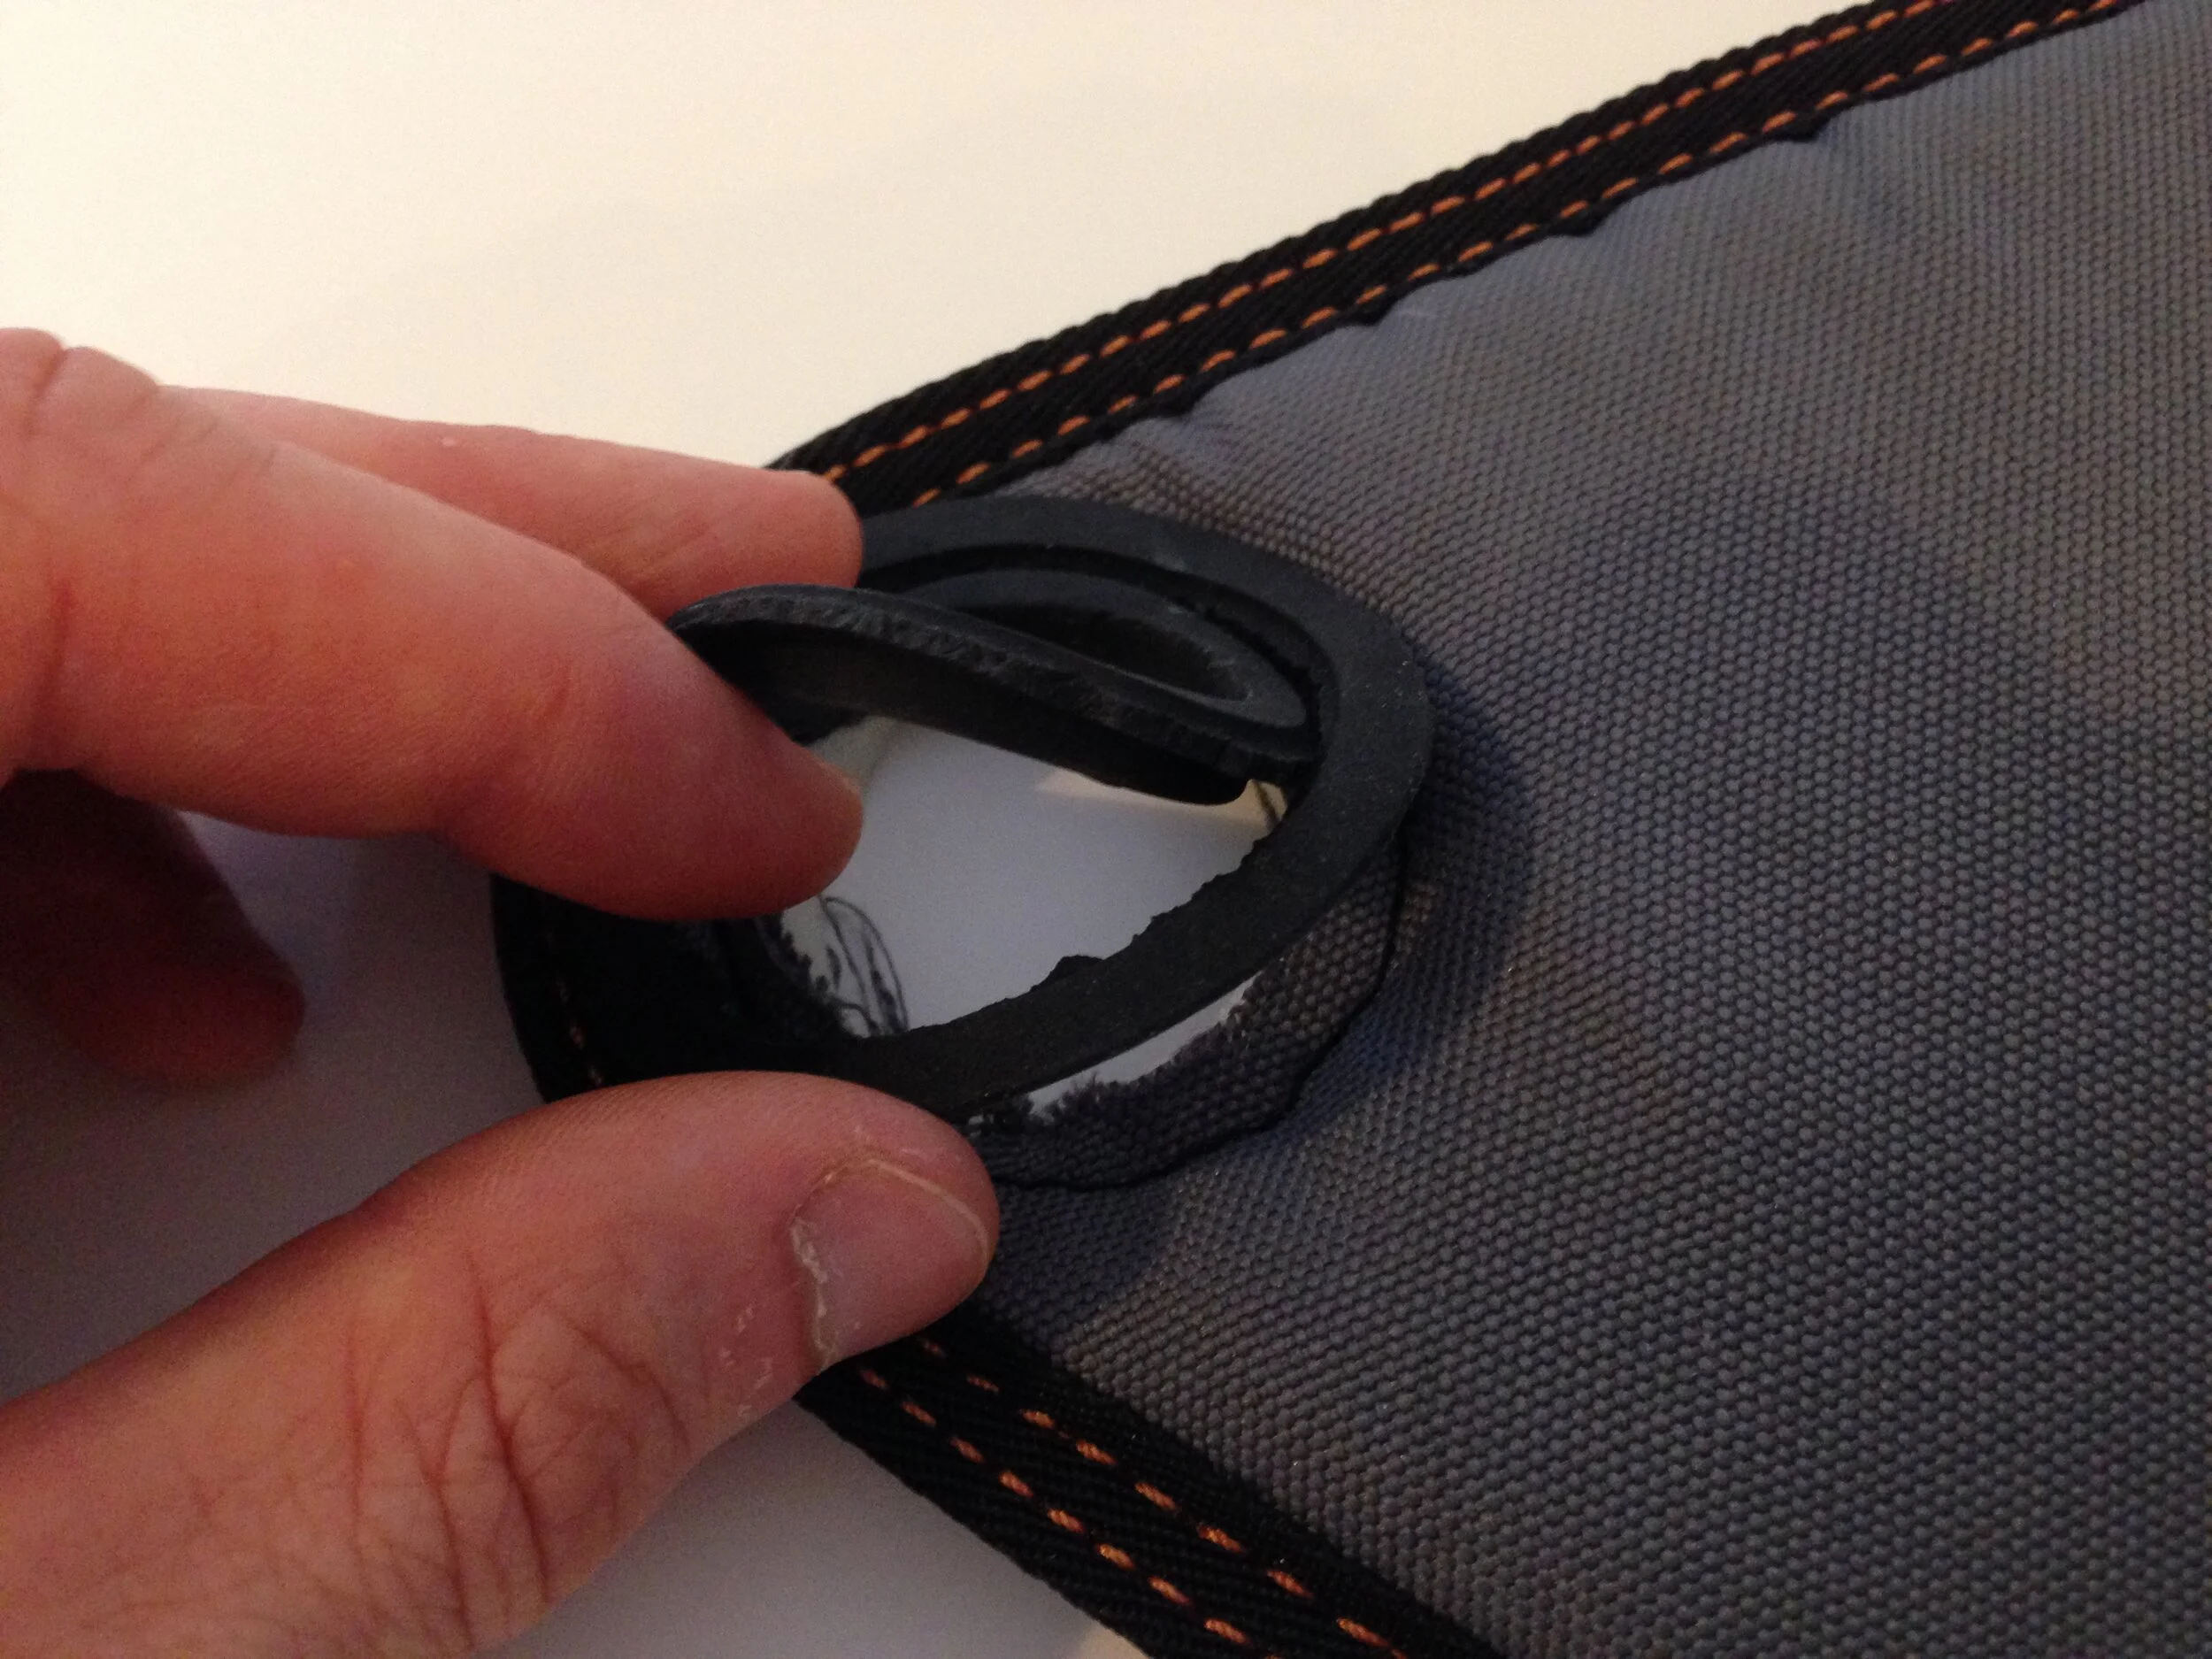
Stitching around nylon seat washer should not be too tight, otherwise the stitching holes cut too much of the material and the washer rips along the stitching.
Nylon seat washer should have a ‘U’ and/or “canyon” cross-section so that it finishes both the top and bottom of hole in the seat fabric.
Prototype II
Prototype II Findings:
Ballistic Nylon reinforcements on the back help. Add a third reinforcement to the front.
Front receives lots of stress. Consider using the same back corner nylon washers on the front as well.
Add increment marks to legs - Laser off anodized AL.
Make the back rest a bit less wide, it’s too loose.
Top view triangle seat shape is too sharp. Adjust design to make seat more blunt.
6. Locking hub design currently has undercuts and needs lifters. Moving forward, try to simplify overmold to achieve A/B
Prototype III
Prototype III Notes:
Fabric on the front behaves much better under pressure with nylon washer and ballistic nylon reinforcement. Reinforcement could be more effective if pattern does not come to a point.
We made the seat back less wide because it was too loose before. Now it’s slightly too small and it’s causing the back of the seat to get pulled together. As a result of this, it droops a bit.
The arrow is going in the wrong direction for tighten. “Tighten” icon needs to be mirrored as well.
Try new color fabric. Options to try: Charcoal black-on-black or dark warm grey.
Prototype IV
Prototype IV Notes:
Tube protectors can all the same part/mold. Delete flat facet on locking protectors.
Add small ribs for tube protectors to land on, to further protect the hub from impacts.
Remove “Tighten” from ABS leg lock, not very visible. Instead, included it with lasered graphic on AL poles.
No clear location for large visible branding on seat rest. Where can we get a nice flat surface for pad print?
Back rest loops should be webbing loops, not cordura loops. The webbing could be used as structure on top and bottom.


